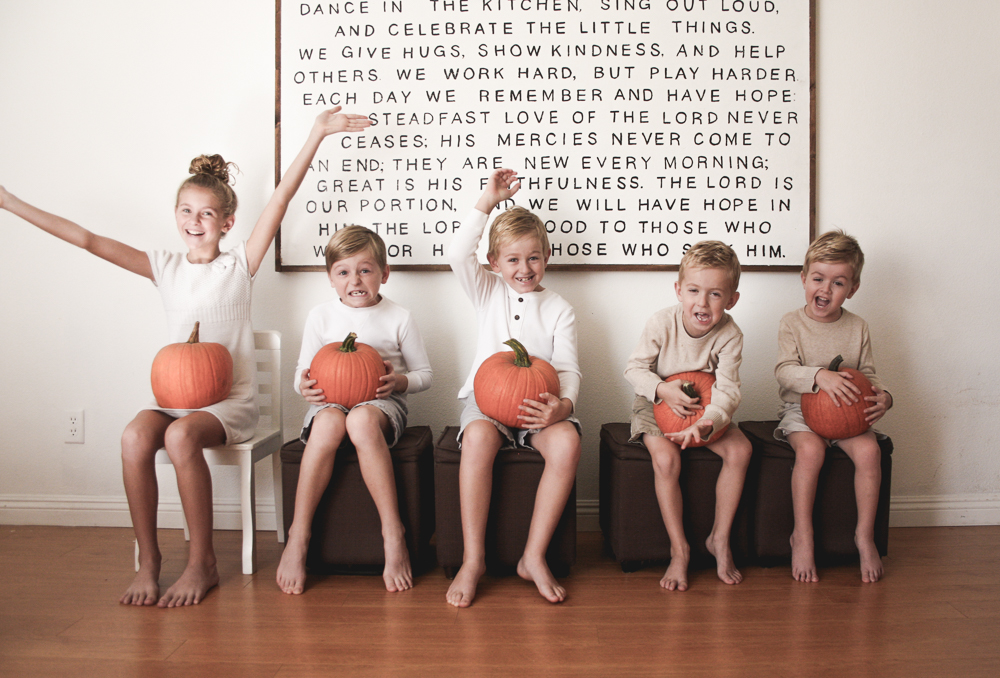
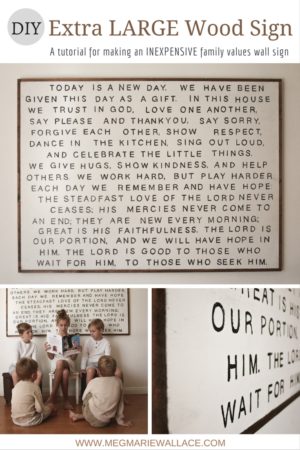
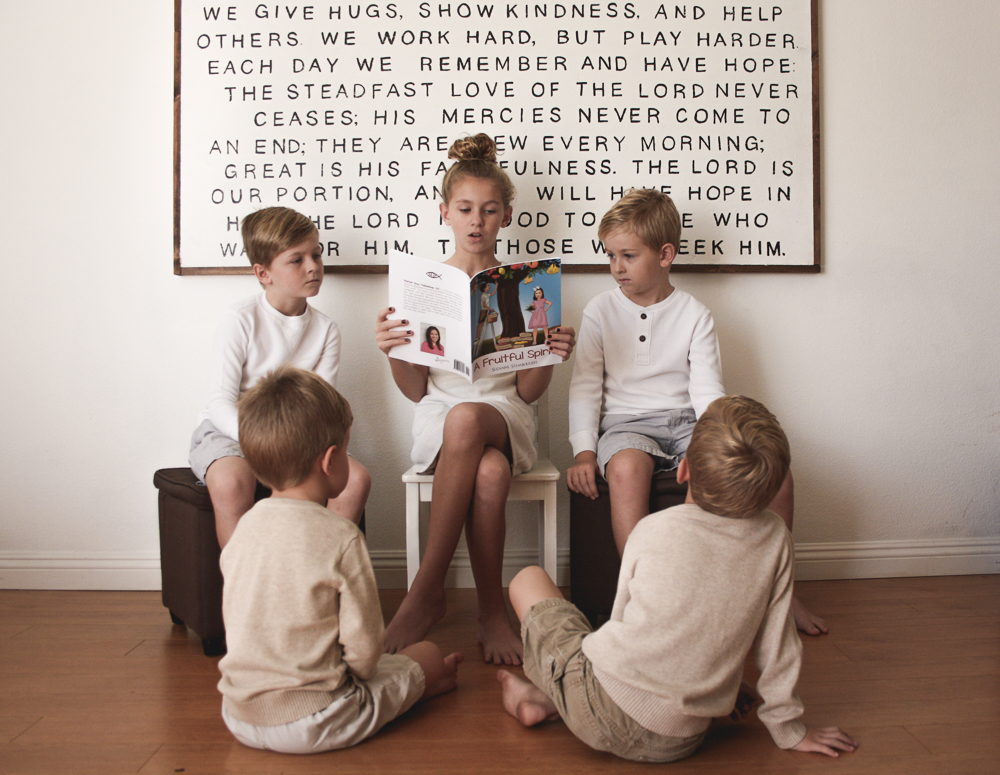
family values wall sign
This wall sign is something I get asked about a LOT! And I wanted to share it with you so you can make your own too!
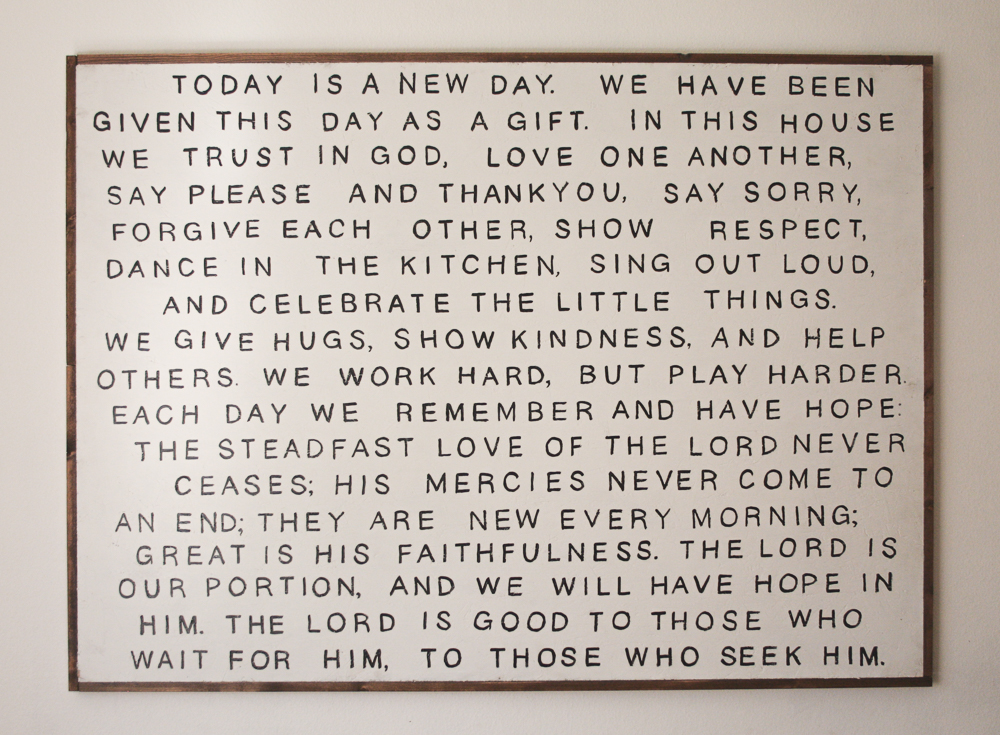
If you decide to make yours exactly like mine, I’ve made available for a small cost a downloadable printable PDF for you to do so. If you decide to want to use your own wording and font I’m sure that’ll be great too! In that case you would purchase the PDF and then email me that you’d like an editable copy and I’ll email that to you after purchase.
To begin, I went to Lowes and bought a huge sheet of plywood, the $20 kind…the cheap roughed up one, not the more expensive versions. The more rustic and edgy, not super polished and smooth, is what I was aiming for.
You’ll also need 1×2 boards. Take your plywood and your boards to the back of the store and the really kind men that run the saws and ask them to cut all of the wood for you.
They’ll likely do it for free, but if they don’t the first 4 cuts are free and then it’s a super minimal charge of $ .25 per cut. It will save you a lot of time and mess having to do it on your own. Oh and make sure to keep the scraps. You’ll want those later for the back…
These are the exact measurements I used.
Large Plywood: 66 in. (I only cut the length. I left the width what it came at which is 48in.)
1×2 boards: Two cut at 48 in. AND two cut at 67 1/2 in.
**While you’re waiting to get those boards cut, run over to the hardware isle and pick up a picture mounting kit to hang the board on your wall.
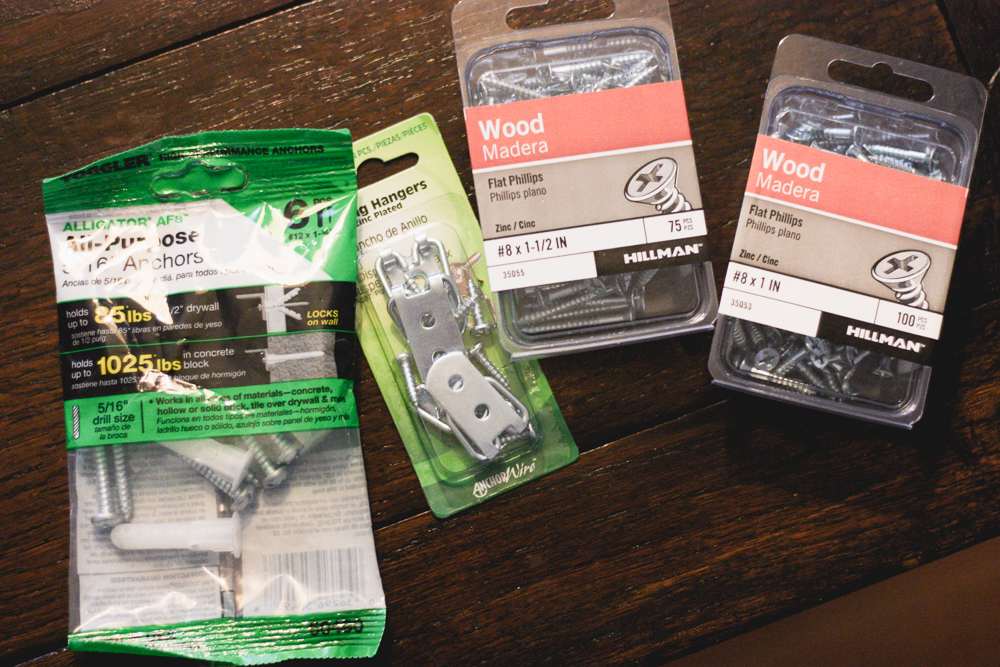
I used two of those hangers in the light green package and two of the 85lb. wall anchors to hold the weight of the sign. I also bought the little 1 1/2 in screws to be able to secure the 1×2 boards to the plywood board.
You’ll also need:
–white primer (This one is my FAV!!!)
–white paint (If you don’t want to pay for chalk paint just buy a little quart of the cheapest brand they have and get it in “flat” so there’s not a sheen to it.)
-black paint (I used what I already had which was chalkboard paint, but it doesn’t matter, just get any kind of black paint, this is only for the lettering so you don’t need much.)
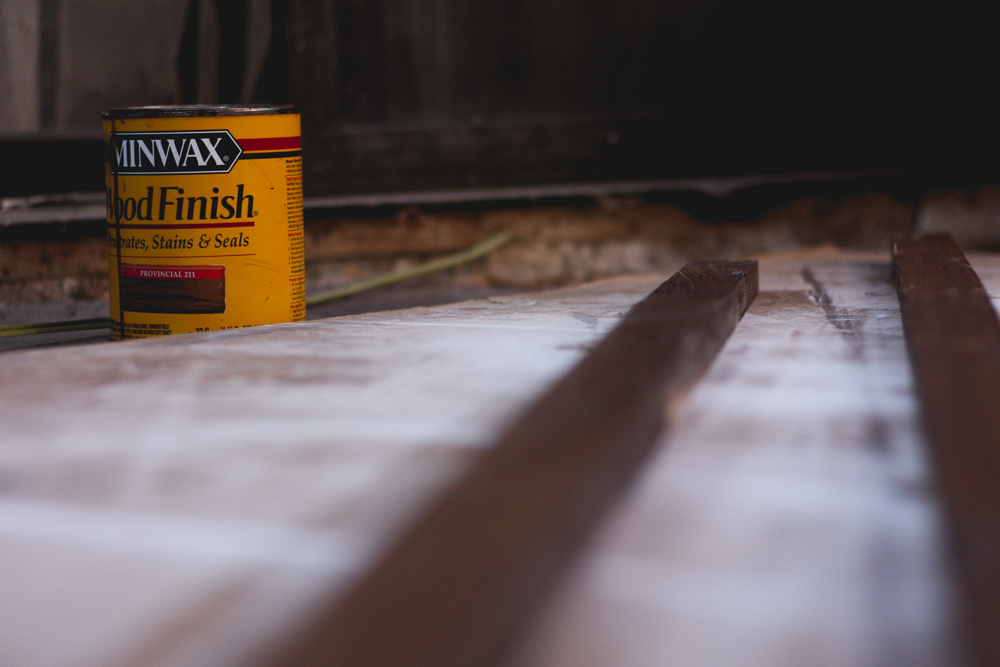
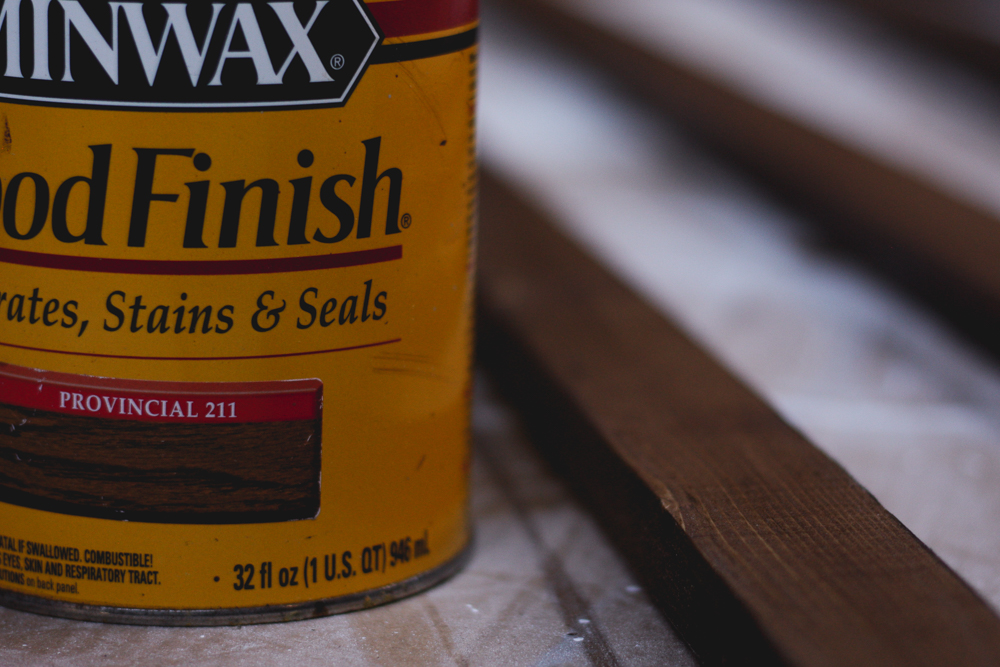
-some wood stain-Minwax in Provincial (see photo below. I purchased the large one for another project and had that left over. If you’re only buying for this project get the smaller can they have.)
-piece of string (any string you have lying around your house will be fine, it just needs to be longer than 48 in. )
-a good pencil, some scissors, a measuring tape, and some regular tape
-a small paintbrush (I used the kids paint brush from one of these)
Besides the wood I had all of this at home already for other projects, so my total bill for this project was less than $25.
Instructions:
- Spray the piece of plywood with the primer, I did this outside in the grass and then carried it inside to dry
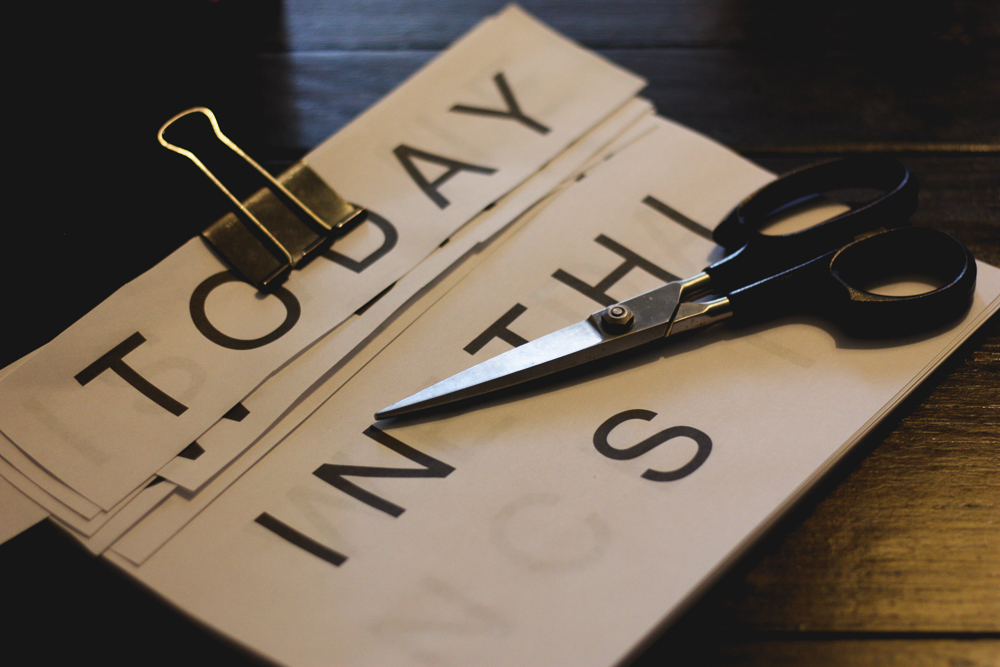
2. Print off the text you plan to use and cut up the words
3. After the primer dries (I only waited approx 30 min…) paint with white paint. Don’t be too careful here, just let it be rough and rustic looking. Tip: Don’t use too much paint on the end of the brush and move your hand back and forth from side to side, not up and down. I use little cheap chippy brushes like these.
Let that dry. I usually do the primer, paint and stain the night before and let it dry overnight.
4. While you wait for that to dry stain your side wood pieces.
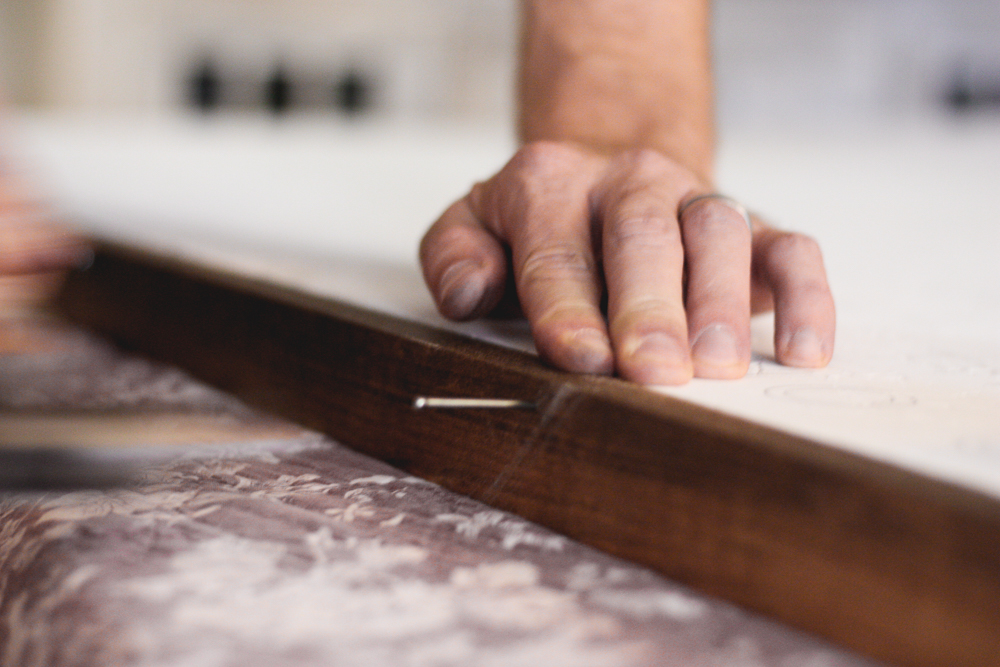
5. Once everything is dry you’ll build the frame. We used 1 1/2 in skinny nails to get it started and then used the screws for added support. You’ll want to lift the board to make the frame flush with the front…or turn it over to do the same thing. Whichever way you decide the point here is to make the side pieces of wood the same level as the front where the writing is.
If done correctly the back is hollow…and it’ll make your sign come away from the wall once it’s finished…like this…

4. Find someone to help you with this next part…Matt helped me with the measuring and moving of the lines. He’s great at math too so he helped me with spacing to get my words in the right places.
If you use my same template it’ll be easy to see exactly where each word will go from the photos, but if you use your own wording you’ll have to do a little math. We counted every character (which would include each letter plus the spaces between words) and divided that by how many lines we thought we’d have based on our font size (don’t forget to leave space at the top and at the bottom.) Then you’ll know approximately how many words you can fit onto each line to keep the spacing correct.
If you are using my same wording:
we began the first line one inch from the top. Then measured every line after that to be spaced 2 3/4 (from the top of one line to the top of the next line).
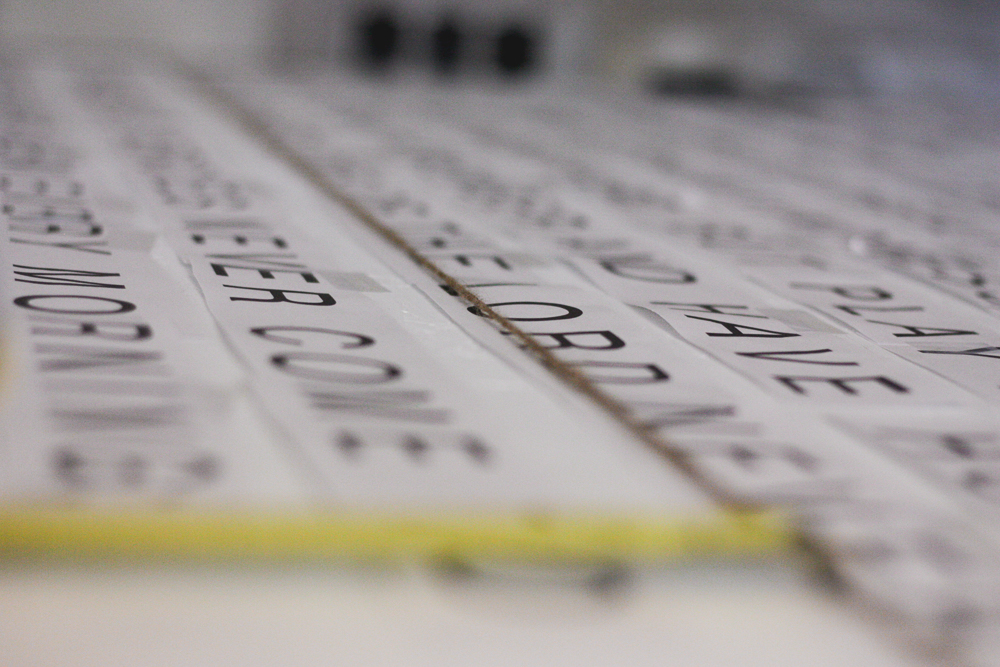
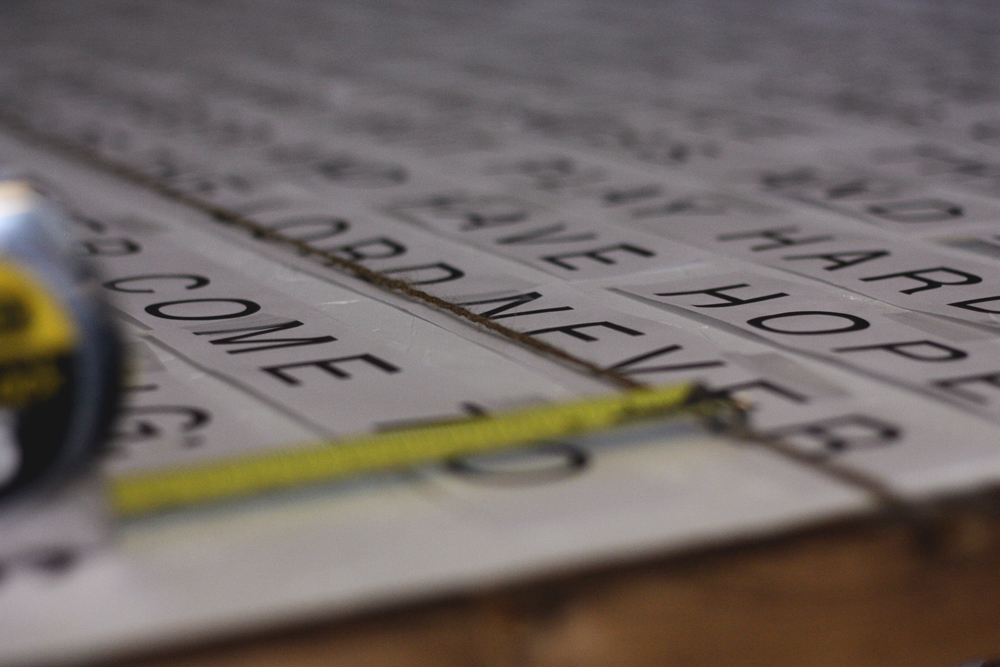
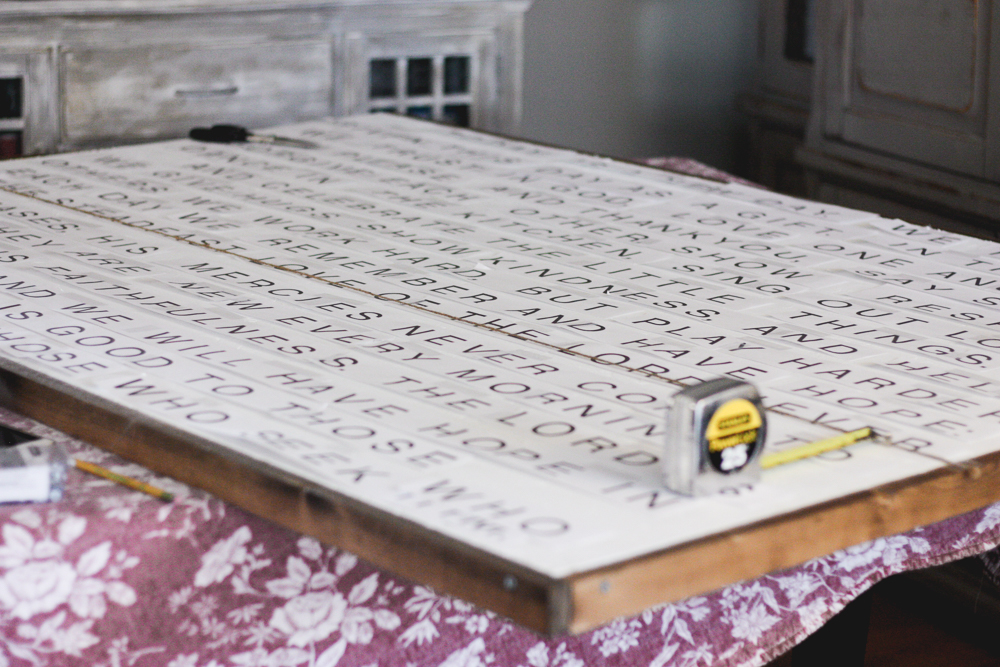
5. Place the words onto the board and tape them down but only on the TOP of each paper (you need it to lift up so you can slide the tracing paper underneath it later.)
Use the string to keep your lines even all the way across.
The second line will be placed by measuring from the bottom of the letters on the first line to the bottom of the letters on the second line.
Whoever is helping you can stand on one side and can move the string down when you’re ready to move to the second line. The easiest and fastest way to do this is for both of you to have your own measuring tape.
6. We taped the string onto each side of frame to make sure it stayed in place and once the words were set, we then lifted it to slide it down to the next line.
A couple of times one of us measured incorrectly and we could tell something was crooked. We had to redo a few lines over again which was a tiny bit maddening, but since we only used a little bit of tape on the top of each word it made fixing it pretty simple.
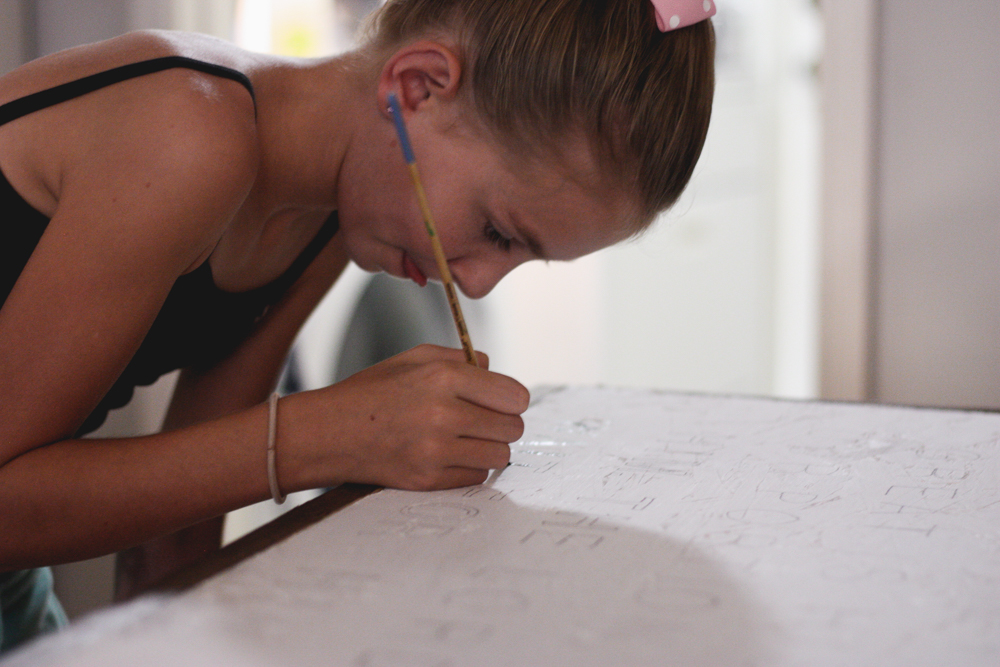
7. Once you’ve got it all set, threaten every person in your home that if they touch the words they’ll pay with their life….make sure to keep everything in place and start at the bottom with the last word and move your up from there. You’ll lift up the word, place the tracing paper down underneath it and make SURE you’ve got the graphite side down…you’ll trace the font with your pencil and then check it to make sure the word showed up on your wood. Once you’ve traced the whole word you can rip off the paper and throw it away. You’ll move all the way up your board doing that for every word. (You can see how the traced letters look in the pic below with Kate.)
8. Once you’re all finished tracing everything you’re ready to paint the letters. This part was tedious but thankfully Kate wanted to help me! (That tongue tho!!!!)
9. Once the letters are dry you’re going to need to flip it over. This is where that scrap wood comes into place. You’ll need to attach it to the back (we used wood screws) so that you can hang the board. We didn’t think the brown side boards could hold the weight of the entire thing without popping off so we used the scraps to fill in the hollow back to be able to attach the mounting hardware.
Make sure to measure exactly where you want the hooks to go so that you can remember to put the screws into the wall at the same distance.
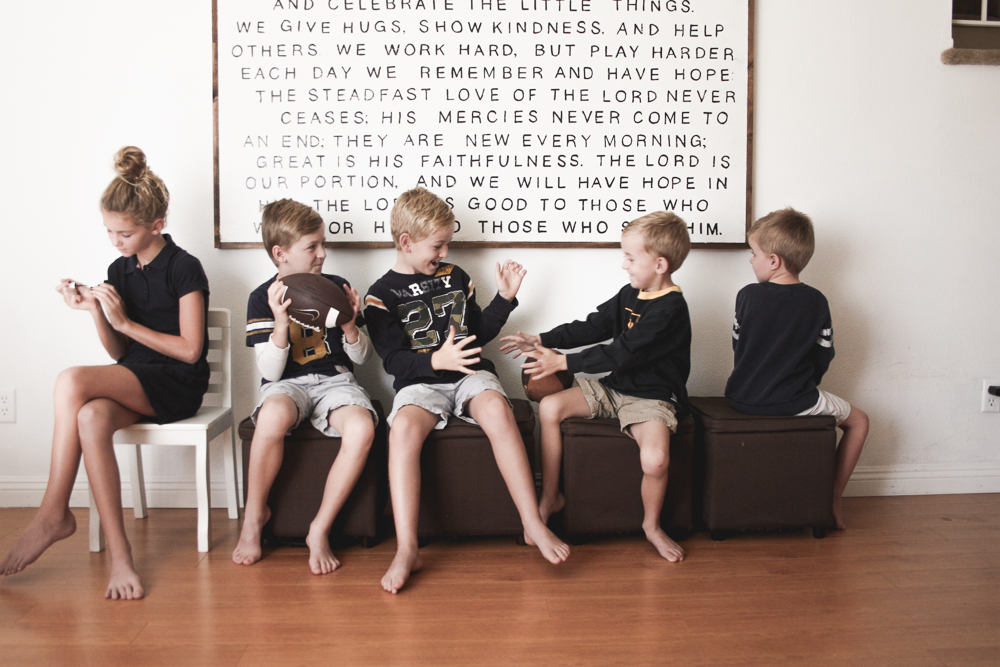
10. Step back, admire your work and…take a nap! 🙂
Please let me know if you have any questions or need more of an explanation! And if you end up making one, please send me a photo or tag me in your pic!!! I’d love to see what you come up with!